Camp V2 [YMAP] 2.0
1 130
19
1 130
19
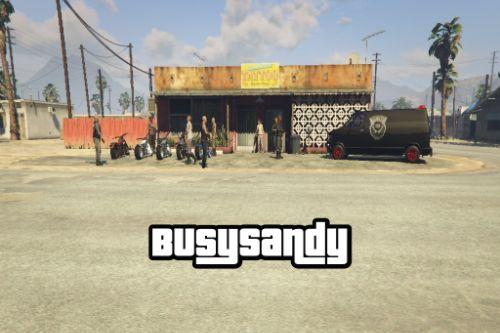
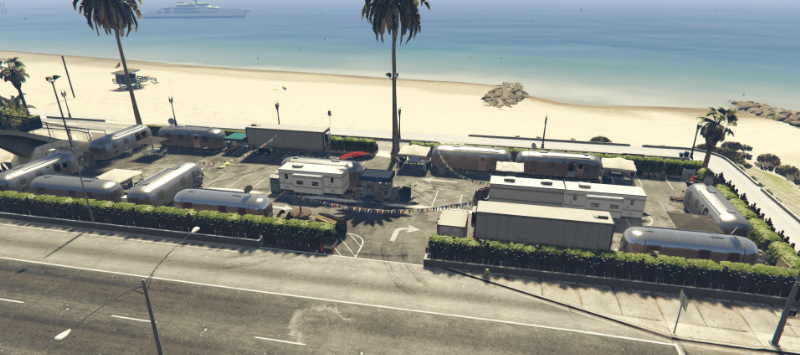
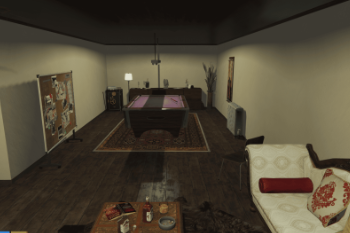
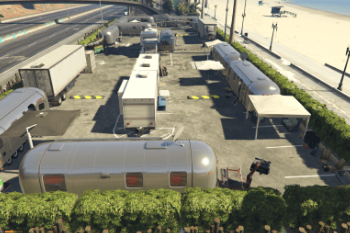
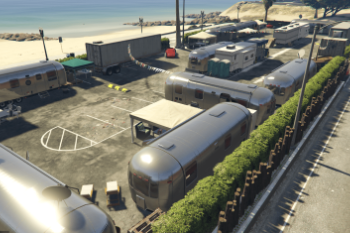
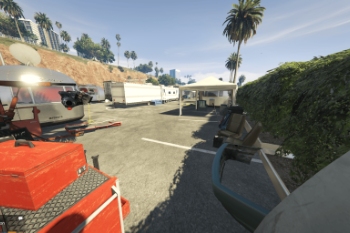
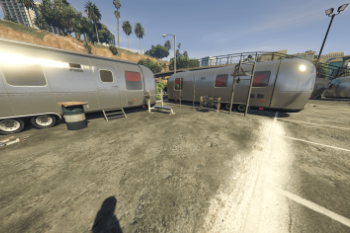
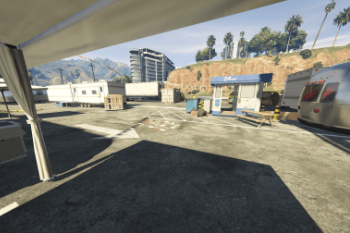
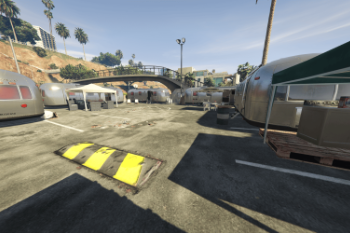
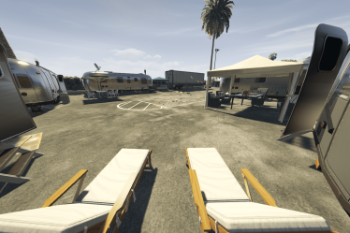
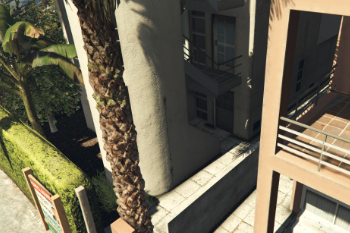
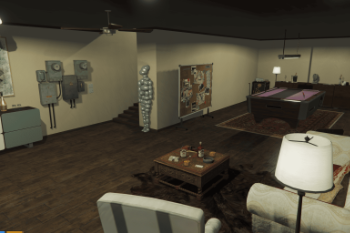
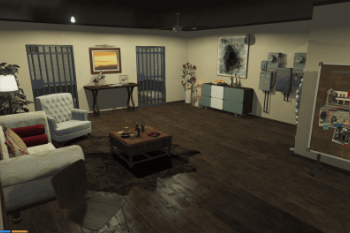
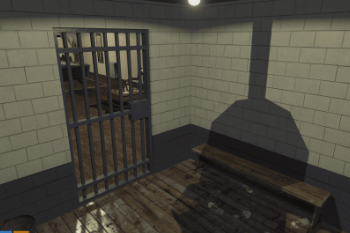
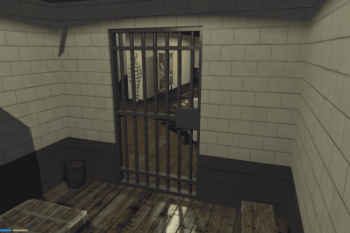
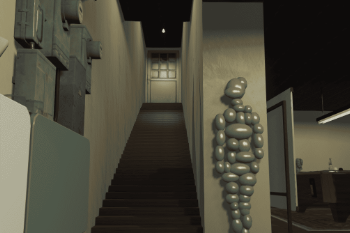
Aujourd'hui je suis content de vous proposez la V2 de ce mapping. Le mapping comprend le mapping de base + l'ajout d'un MLO.
Le tout est prêt à être mit en jeu.
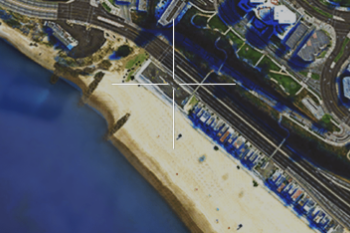
Localisation: x: -2021.1315 y: -449.7815 z: 11.4949
Localisation MLO: x: -1980.3363 y: -520.5150 z: 11.8941
Installation :
- Ouvrir le fichier WinRar
- Sélectionner le fichier zlx_camp_gitan_V2 puis le glisser dans vos ressources
- Start le Mapping dans votre Server.cfg
- Open WinRar file
- Select the zlx_camp_gitan_V2 file and drag it into your assets
- Start the mapping in your Server.cfg
SINGLEPLAYER
- Extrayez le YMAP du dossier et définissez-le sur votre bureau
- Ouvrez OpenIV, installez-le si vous ne l’avez pas déjà
- Assurez-vous de passer en mode édition !!
- Cliquez sur mettre à jour> x64> dlcpacks> custom_maps>dlc.rpf> x64> niveaux> gta5> citye> maps> custom_maps.rpf
- Ensuite, prenez le YMAP et glissez-déposez-le dans OpenIV puis c’est dedans!
- Extract the YMAP from the folder and set it on your desktop
- Open OpenIV, install it if you don't already have it
- Make sure to switch to edit mode!!
- Click update> x64> dlcpacks> custom_maps>dlc.rpf> x64> levels> gta5> citye> maps> custom_maps.rpf
- Then take the YMAP and drag and drop it into OpenIV and then it's in!
Първо качено на: 05 юли 2023
Последно обновено на: 08 декември 2024
Последно изтеглено: преди 19 часа
6 Коментари
Aujourd'hui je suis content de vous proposez la V2 de ce mapping. Le mapping comprend le mapping de base + l'ajout d'un MLO.
Le tout est prêt à être mit en jeu.
Localisation: x: -2021.1315 y: -449.7815 z: 11.4949
Localisation MLO: x: -1980.3363 y: -520.5150 z: 11.8941
Installation :
- Ouvrir le fichier WinRar
- Sélectionner le fichier zlx_camp_gitan_V2 puis le glisser dans vos ressources
- Start le Mapping dans votre Server.cfg
- Open WinRar file
- Select the zlx_camp_gitan_V2 file and drag it into your assets
- Start the mapping in your Server.cfg
SINGLEPLAYER
- Extrayez le YMAP du dossier et définissez-le sur votre bureau
- Ouvrez OpenIV, installez-le si vous ne l’avez pas déjà
- Assurez-vous de passer en mode édition !!
- Cliquez sur mettre à jour> x64> dlcpacks> custom_maps>dlc.rpf> x64> niveaux> gta5> citye> maps> custom_maps.rpf
- Ensuite, prenez le YMAP et glissez-déposez-le dans OpenIV puis c’est dedans!
- Extract the YMAP from the folder and set it on your desktop
- Open OpenIV, install it if you don't already have it
- Make sure to switch to edit mode!!
- Click update> x64> dlcpacks> custom_maps>dlc.rpf> x64> levels> gta5> citye> maps> custom_maps.rpf
- Then take the YMAP and drag and drop it into OpenIV and then it's in!
Le tout est prêt à être mit en jeu.
Localisation: x: -2021.1315 y: -449.7815 z: 11.4949
Localisation MLO: x: -1980.3363 y: -520.5150 z: 11.8941
Installation :
- Ouvrir le fichier WinRar
- Sélectionner le fichier zlx_camp_gitan_V2 puis le glisser dans vos ressources
- Start le Mapping dans votre Server.cfg
- Open WinRar file
- Select the zlx_camp_gitan_V2 file and drag it into your assets
- Start the mapping in your Server.cfg
SINGLEPLAYER
- Extrayez le YMAP du dossier et définissez-le sur votre bureau
- Ouvrez OpenIV, installez-le si vous ne l’avez pas déjà
- Assurez-vous de passer en mode édition !!
- Cliquez sur mettre à jour> x64> dlcpacks> custom_maps>dlc.rpf> x64> niveaux> gta5> citye> maps> custom_maps.rpf
- Ensuite, prenez le YMAP et glissez-déposez-le dans OpenIV puis c’est dedans!
- Extract the YMAP from the folder and set it on your desktop
- Open OpenIV, install it if you don't already have it
- Make sure to switch to edit mode!!
- Click update> x64> dlcpacks> custom_maps>dlc.rpf> x64> levels> gta5> citye> maps> custom_maps.rpf
- Then take the YMAP and drag and drop it into OpenIV and then it's in!
Първо качено на: 05 юли 2023
Последно обновено на: 08 декември 2024
Последно изтеглено: преди 19 часа
![GTA V Remastered: Enhanced [Add-On | YMAP | LODs | OIV | SP | FiveM] GTA V Remastered: Enhanced [Add-On | YMAP | LODs | OIV | SP | FiveM]](https://img.gta5-mods.com/q75-w500-h333-cfill/images/gta-v-remastered-enhanced/4ca643-cover.jpg)
![Forests of San Andreas: Revised [Add-On | YMAP | YMT | CARGEN | LODs | OIV | SP | FiveM] Forests of San Andreas: Revised [Add-On | YMAP | YMT | CARGEN | LODs | OIV | SP | FiveM]](https://img.gta5-mods.com/q75-w500-h333-cfill/images/forests-of-san-andreas-revised/e63b77-cover.jpg)
 5mods on Discord
Now we know where Sgt. Martin Riggs lives.
Nice but think in the wrong location think it should been in the wooded area
Make the description in english! @ZLX
removed MLO from your title as its not a MLO
@ReNNie YMAP + MLO
this should be packaged into a DLC. these are FiveM / Alt. files.